I started by putting a brass steady pin in the shelf to engage the center cock.

Here's the cock installed.

The clock is to be mounted on the wall, and I just learned about French cleats. That seemed a pretty cool way to mount the clock! I took a piece of pine and planed a 45 degree bevel, and mounted it level on the wall.

The matching cleats for the clock were similarly planed from oak...

... drilled ...

and mounted on the clock.

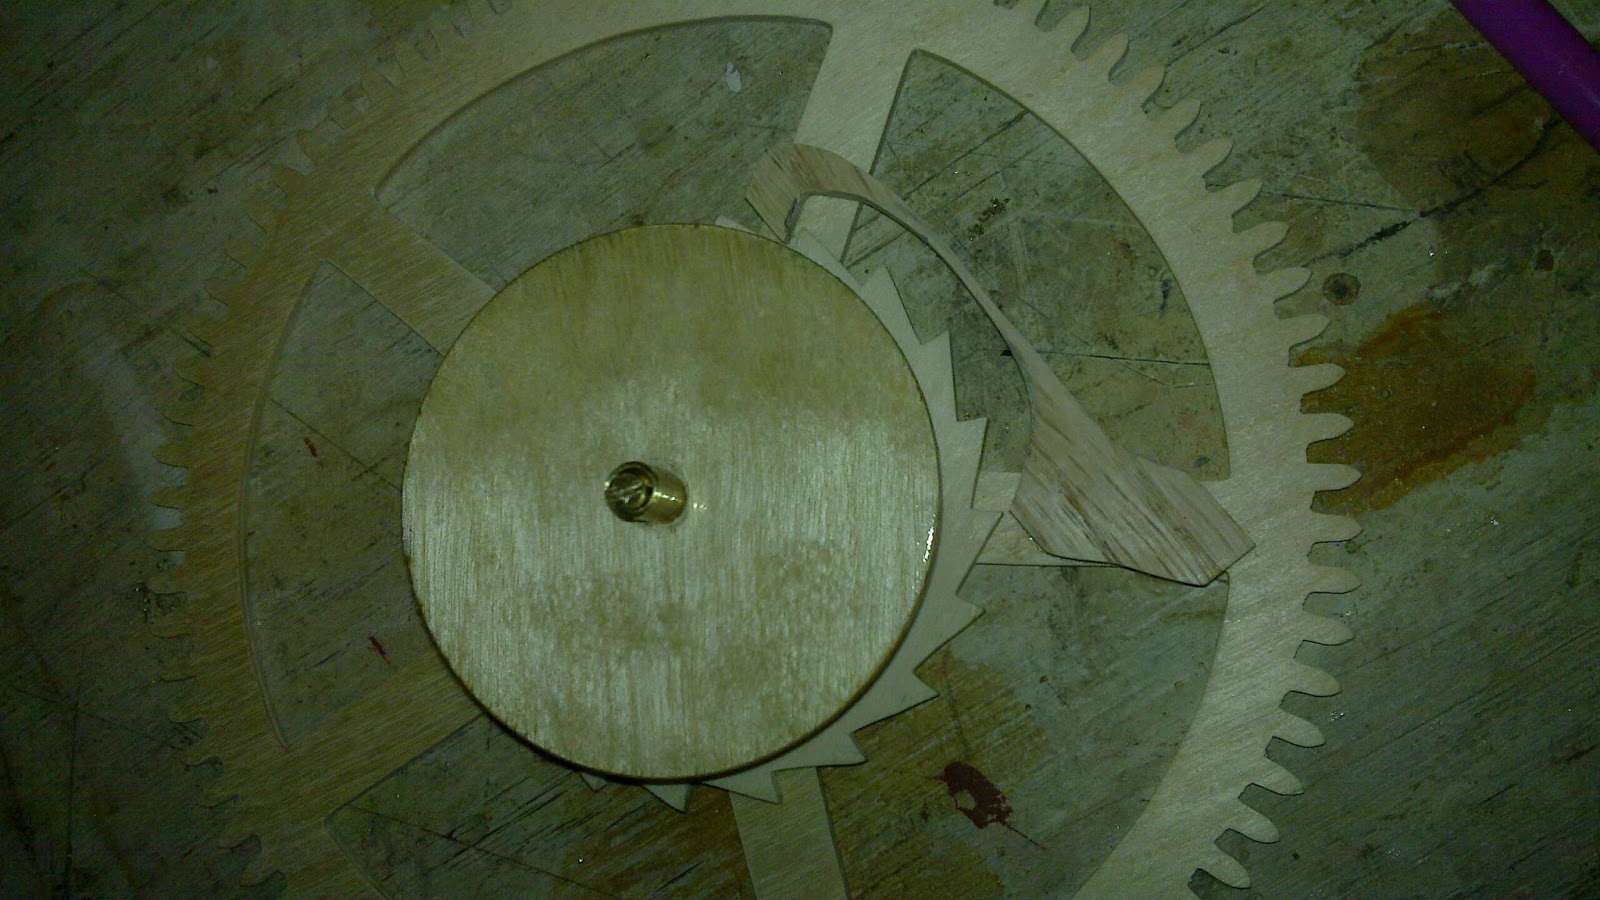
The drive wheel rides on two-piece arbor I built yesterday, but I had to wait for the polyurethane to dry on the barrel. The arbor was pushed into the barrel in the vice.

After that, I cut a click spring from a thin piece of oak and superglued it into place.
The center arbor was next. Here was the planned construction.

After cutting, I tried the fit in the frame. This required broaching the cock pivot hole to fit, and quite a bit of sanding on the foot of the cock to get the holes into alignment. Evidently my original drilling wasn't square... But in the end, I got it to fit and run smoothly.

The hour finger is fit onto a squared portion of the center arbor, which I held on with a washer on the other side. The washer was attached with Loctite 603. I'll worry about the hour rack later.

The other arbors are screwed into the back plate. I found that oak can be tapped for 6-32 threads if a 7/64" hole is drilled first.

The brass arbors are turned to 1/8" and threaded with 6-32 threads to a length of 3/8".

The train runs more smoothly than and I've made before, so that's a nice payoff for the large investment of time I made on getting the wheels sanded perfectly.
Now for the detent. The locking pallet was turned, pressed into place, and then the locking face was filed. All of this was done on the lathe to ensure a good grip.

I decided to make the foot spring from the detent itself by thinning the wood. The foot is then screwed onto the detent cock. Here are two views of the detent in place.


The detent also needs an unlocking spring. This was cut from a segment of a spring taken from a broken toy car.

The hole for the spring was punched...

... and a mounting pin turned to fit.

The pin was then staked in place.

Here's the detent installed. It seems to require close installation tolerance to run.

Now, as for running, the escapement will unlock properly, though it takes a bit of tuning. It is also quite loud... far louder than even I would like for a long-running clock. Even though the clock is quite handsome, if it works, it will probably stay out of living spaces... Sadly, that's less motivation to finish the motion work...
It seems that the balance looses energy too quickly to actually work. There are apparently a few issues:
- Since the foot spring on the detent is stiff, the unlocking takes a good deal more energy than expected. Most books I've read on the subject seem to largely neglect the foot spring energy altogether. The fact that I can't points to a design problem. The balance could be too light -- therefore the unlocking represents a larger fraction of the balance's kinetic energy -- or the spring could be too stiff.
- Even without the influence of the escapement, the balance slows to a stop quickly. This also points to loosing too much energy. However, making a heavier balance does not fix this problem, and probably makes it worse.
No comments:
Post a Comment